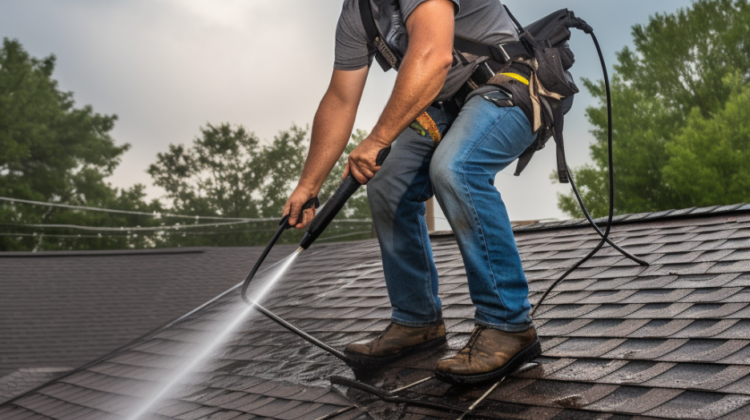
Maintaining a clean and well-maintained roof is crucial for the longevity and appearance of your home. Over time, roofs can accumulate dirt, debris, moss, and stains, leading to damage if not addressed promptly. Cleaning your roof regularly enhances its curb appeal and helps prevent costly repairs down the line. This article will guide you through cleaning your roof step-by-step, ensuring a safe and effective approach.
Step 1: Inspect the Roof
Before commencing the cleaning process, it is crucial to thoroughly inspect your roof for any indications of damage or wear. Check for loose or missing shingles, cracks, or areas needing repairs. Safety should be your priority, so if you’re uncomfortable with heights or unsure about the condition of your roof, it’s best to hire a professional.
Step 2: Gather the Necessary Equipment
To clean your roof effectively, you’ll need a few essential tools. These include a sturdy ladder, safety harness, gloves, safety goggles, a garden hose with a spray nozzle, a soft-bristle brush or broom, and a roof cleaning solution. Ensure you choose a cleaning solution specifically formulated for your roof type to avoid damage.
Step 3: Clear Debris
Start by removing loose debris from the roof, such as leaves, branches, and twigs. Using a broom or a leaf blower, gently sweep the roof surface carefully not to damage the shingles. Clearing debris helps prepare the roof for cleaning and prevents blockage in the gutters.
Step 4: Apply the Cleaning Solution
Mix the roof cleaning solution with water according to the instructions on the product label. Fill a garden sprayer with the solution and evenly apply it to the roof surface. Begin at the highest point and work your way down, ensuring complete coverage. Let the solution remain on the roof for the recommended duration to effectively loosen dirt, moss, and stains.
Step 5: Scrub and Rinse
Using a soft-bristle brush or broom, gently scrub the roof surface to remove stubborn stains and moss. Do not apply excessive pressure, as it may damage the shingles. Once you’ve scrubbed the entire roof, rinse it thoroughly with a garden hose, starting from the top and working downward. Ensure you rinse away all traces of the cleaning solution to prevent any potential damage.
Step 6: Preventive Measures
After cleaning your roof, it’s wise to take preventive measures to reduce the likelihood of future dirt and moss buildup. Install zinc or copper strips near the roof’s peak, as they help inhibit the growth of algae and moss. Trimming overhanging tree branches will minimize the accumulation of debris on the roof. Regularly cleaning the gutters and downspouts prevents water from backing up and causing damage.
Step 7: Safety Considerations
Throughout the cleaning process, it’s vital to prioritize safety. Always wear gloves and safety goggles to protect your hands and eyes. Use a sturdy ladder and ensure it is adequately secured. If you’re uncomfortable with heights or the condition of your roof, hire a professional roof cleaner.
By following these steps, you can effectively clean your roof, keeping it in optimal condition and enhancing the overall appearance of your home. Remember to exercise caution, and if in doubt, seek professional assistance. With regular maintenance, your roof will continue providing protection and beauty for years.
