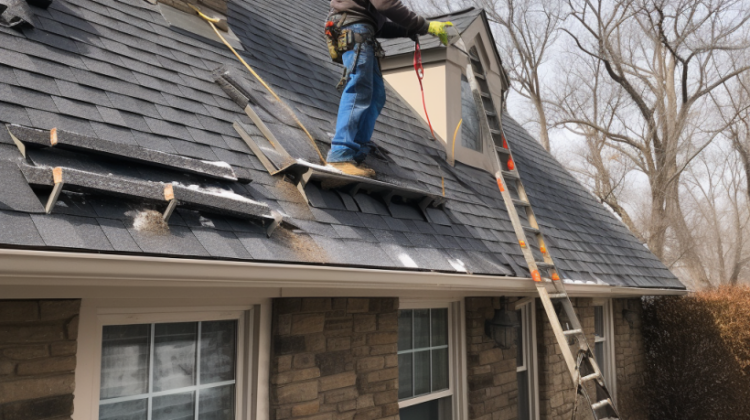
Spring is just around the corner, and it’s the perfect time to prepare your home for the changing weather. One essential area that often gets overlooked is the roof. Winter can take a toll on your roof, and ensuring it’s in top shape before the spring showers start is crucial. Follow this step-by-step guide to get your roof ready for the upcoming season, and you’ll be able to enjoy the sunny days worry-free.
Step 1: Inspect Your Roof
Begin the process by inspecting your roof for any evident signs of damage. Grab a ladder and climb up to get a closer look. Look for loose or missing shingles, cracked tiles, and signs of water damage like stains or mold. Actively involving yourself in this inspection will help you spot potential unnoticed issues.
Step 2: Clear Debris
Next, clear any debris that may have accumulated on your roof during the winter months. Dead leaves, branches, and other debris can trap moisture, leading to rot and decay. Use a sturdy broom or a leaf blower to clean off the debris gently. This action will promote better drainage and prevent any potential damage.
Step 3: Clean the Gutters
While up on the roof, take the time to clean out the gutters. Gutters clogged with debris can cause water to pool, potentially leading to leaks and water damage. Use gloves and a scoop to remove the gunk, and then rinse the gutters with a hose to ensure they are clear and ready to handle the upcoming spring rains.
Step 4: Check Flashings and Seals
Inspect the flashings and seals around chimneys, vents, and skylights. These are common areas where leaks can occur. Look for signs of wear and tear, such as cracks or gaps. If you notice any issues, apply roofing cement or sealant to ensure a watertight seal. Act promptly to avoid more extensive problems down the road.
Step 5: Trim Overhanging Branches
Overhanging tree branches can rub against your roof, causing damage to shingles or tiles. Trim back any branches too close to your roof to prevent potential harm during spring storms or windy conditions.
Step 6: Schedule a Professional Inspection
While you can do a visual inspection yourself, scheduling a professional roof inspection’s always a good idea. Roofing experts are trained to identify potential problem areas that may be obscure to the untrained eye. They can also assess the overall condition of your roof and recommend any necessary repairs.
Step 7: Repair or Replace Damaged Shingles
Don’t wait to take action if you’ve identified any damaged shingles during your inspection. Repair or replace them promptly to prevent water from seeping into your home. Damaged shingles can lead to leaks and structural damage if addressed.
Step 8: Improve Roof Ventilation
Ensuring proper roof ventilation is vital to preserving the health and longevity of your roof. It helps regulate temperature and prevents moisture buildup, which can lead to mold and rot. Consider installing roof vents or ridge vents if your roof lacks adequate ventilation.
Step 9: Apply a Roof Coating
Consider applying a roof coating to further protect your roof from the elements. Roof coatings protect against UV rays, rain, and other potential damage. They can extend the lifespan of your roof and reduce the need for repairs.
Step 10: Plan for Regular Maintenance
Finally, create a plan for regular roof maintenance. Set reminders to inspect your roof at least twice yearly, ideally before the spring and fall seasons. Regular maintenance can catch problems early and save you money on costly repairs in the long run.
By following these steps and being proactive in maintaining your roof, you can ensure that it remains in excellent condition throughout the spring and beyond. A well-maintained roof will protect your home and provide you with peace of mind during the changing seasons.
